A quick start wizard will be launched on first use to allow users to get ActivMan
up-and-running quickly. It contains step-by-step procedures for completing the
quick start wizard and for performing the most common tasks when first starting
out using the application.
Select Edition:
Launching ActivMan (main application)
On launching ActivMan for the first time you will be presented with the welcome
wizard which will guide you through configuring the application for the first time.
Click 'Next' to start the wizard or click 'Cancel' to close it. Closing the
wizard will load the main application without configuring it.
If you do cancel the welcome wizard and need to get back in to it again then
you must launch the application with "/showwelcomewizard" as an argument:
ActivMan.exe /showwelcomewizard
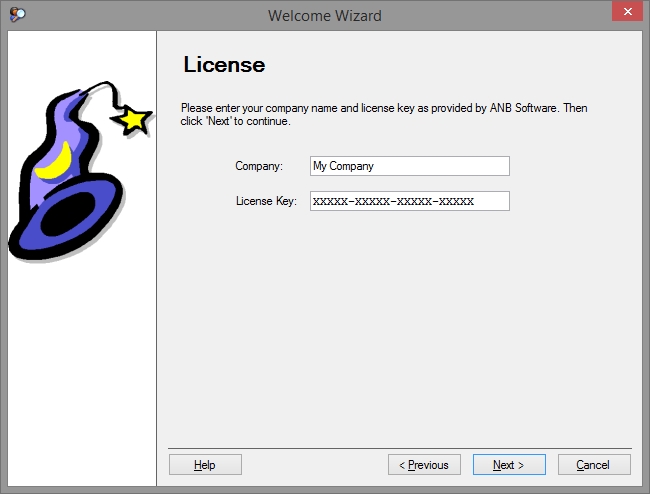
On the license page of the wizard enter your license details.
These must be entered exactly as given to you otherwise the key will be invalid.
Also, you will receive an invalid license key error message if the expiration
date of the key has passed.
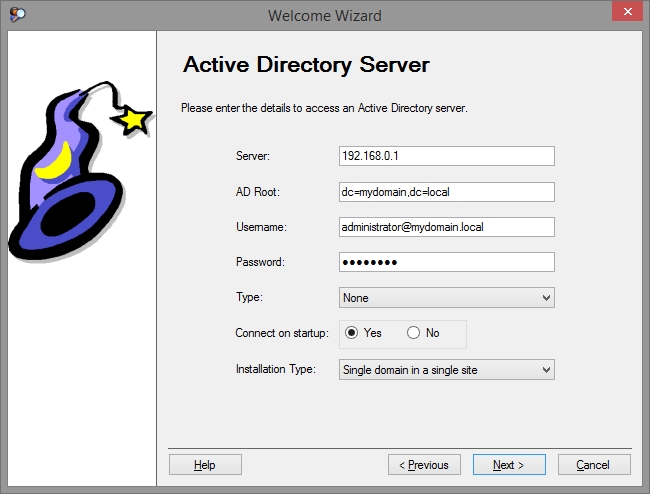
On the Active Directory server page of the wizard you must enter the connection
details to access your Active Directory network. This can be any domain controller
that matches the domain you are trying to connect to.
The 'Server' can be either an IP address or server name.
The 'AD Root' MUST be entered in the format of "dc=mydomain,dc=local",
if your name is "mydomain.local".
Next you MUST enter a username and password to access the AD network.
It is advisable to use a domain administrator and to enter the username in the
format of "administrator@mydomain.local".
If your AD network utilises a special connection type then select the
appropriate type from the 'Type' options.
You can choose whether to automatically connect to this AD server when ActivMan
starts by selecting 'Yes' for 'Connect on startup'.
If this domain is split over multiple sites where user accounts are stored in
different OU's and user's home directories are stored on different servers,
i.e. servers located at each site, then select 'Single domain across multiple
sites' from the 'Installation Type' options. On the next page of the wizard
you will be able to specify the OU's and home directory locations for each site.
On clicking 'Next' the wizard will attempt to connect to the specified AD
domain controller. If it fails then you will be directed back to this page
of the wizard to verify and correct the connection details.
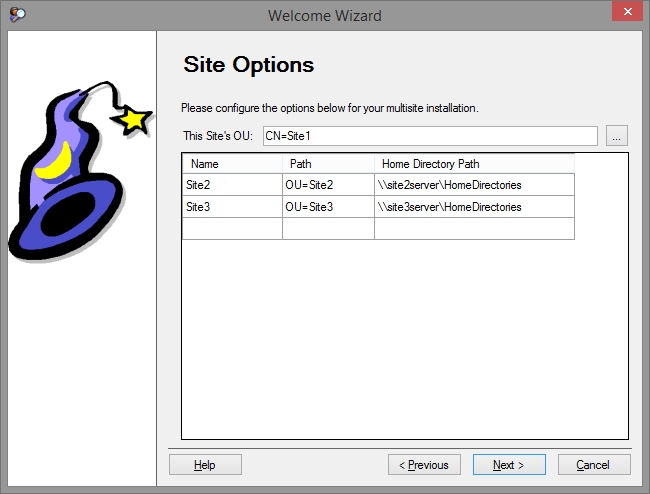
On the Site Options page of the wizard you will need to specify all of the
OU's and home directory paths for each site. This will need replicating
across all ActivMan installations across all sites, leaving off "this site"
each time.
The 'Home Directory Path' for each site needs to be accessible by each site
as ActivMan will attempt to move a user's home directory from another site
to "this site" if their user account is being moved, which is optional.
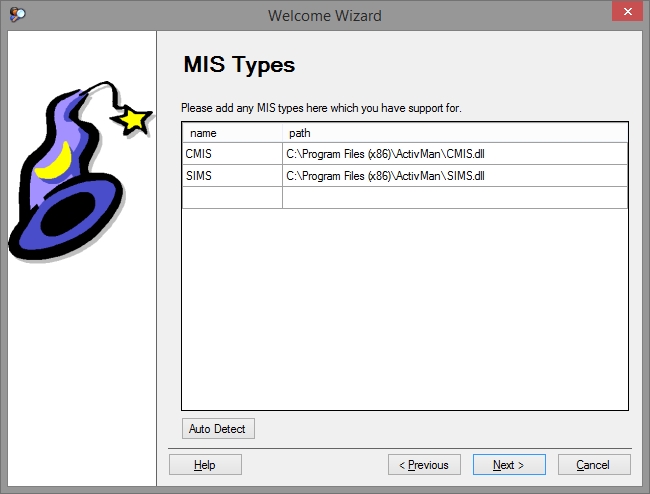
On the MIS Types page of the wizard you can specify which MIS's you would
like to use with ActivMan. Simply click 'Auto Detect' for ActivMan to
search the ActivMan installation folder for any compatible MIS's installed.
If you need to you can manually add another MIS by clicking on the empty
row and entering a name and browsing to the DLL.
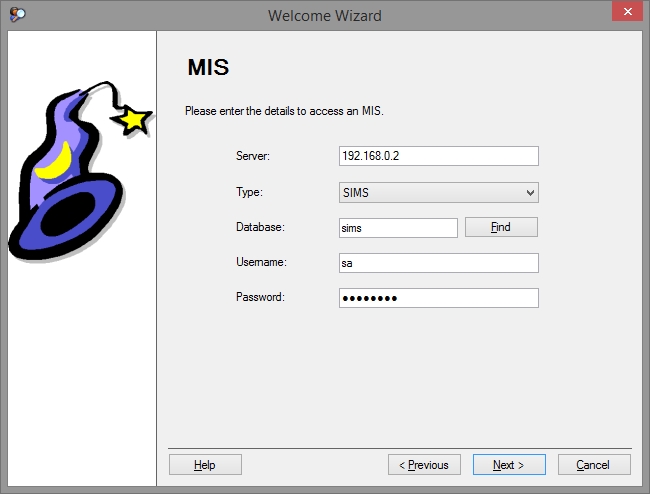
On the MIS page of the wizard you must enter the connection details for your MIS.
Your MIS must be accessible from the system you are running ActivMan on.
The 'Server' can be either an IP address or server name, along with the instance, e.g. "MISSERVER\MIS".
Select the MIS type from the 'Type' options. These will be the MIS's you
have configured on the MIS Types page of the wizard.
Next, enter the credentials for your MIS DATABASE.
This is NOT the credentials that you use to login to your MIS but the credentials
to access the database directly.
Once you have entered the credentials you can click 'Find' where ActivMan will
login to the specified database and attempt to find your MIS database.
If this fails to detect your MIS then you can manually enter the database.
On clicking 'Next' the wizard will attempt to connect to the specified database.
If it fails then you will be directed back to this page of the wizard to verify
and correct the connection details.
On the ActivMan Options page of the wizard you can configure some required options.
In most cases the default options should be sufficient but can be changed here if required.
You can change these at a later time by accessing them in Options.
The 'User ID Field Name' is the AD user account attribute used to store an MIS ID in each user account.
This is required to link each person in your MIS to an associated AD user account.
By default, ActivMan uses "employeeID".
In some education establishments students do not always have a UPN (Unique Pupil Number),
which is the "ID" used to store in each student AD account. Therefore you can change
the "ID" from being the UPN to something else that suits your education establishment.
The 'Match Old Accounts By' option is used when attempting to match existing user
accounts to people you are trying to import (either from your MIS or a CSV file).
So, when someone is extracted from your MIS a search is performed based on this option.
However, a secondary check is performed to match the ID to ensure it is the correct account.
The 'Empty Start Date Action' option is used to inform ActivMan what to do when we
encounter someone who has no start date specified.
Once you are happy with all of these settings then click 'Next'.
On the Import Options page of the wizard you can specify what to do when certain
events are encountered during import.
The 'Delete left users' option will delete any user accounts encountered where
the person has been determined to have "left", i.e. their date of leaving is before
"today" (or the import date).
The 'Disable left users' option will disable any user accounts encountered where
the person has been determined to have "left", i.e. their date of leaving is before
"today" (or the import date). If 'Delete left users' is selected then this will
be ignored as the account will be deleted.
The 'Move left users' option will move any user accounts encountered where the
person has been determined to have "left", i.e. their date of leaving is before
"today" (or the import date). If 'Delete left ' is selected then this will be
ignored as the account will be deleted. With this option enabled you MUST
specify an OU to move the accounts to.
The 'Unique suffice number length' option is used to specify the length of the
unique number added to the end of user accounts when account names already exist.
For example, if this option is set to "1" then only a single digit will be appended
to the account, whereas a value of "2" would create 2 digits (e.g. "01").
Once you are happy with all of these settings then click 'Next'.
On the Custom Year Groups page of the wizard you can specify any "custom years"
already configured in your MIS. For example, some primary schools have a nursery
year which is sometimes labelled as "N1".
NOTE: Only enter one custom year per line, with no spaces or tabs or non-alphanumeric
characters, unless they are present in the custom year being entered.
Once you entered all of the custom year groups you think you will need then click 'Next'.
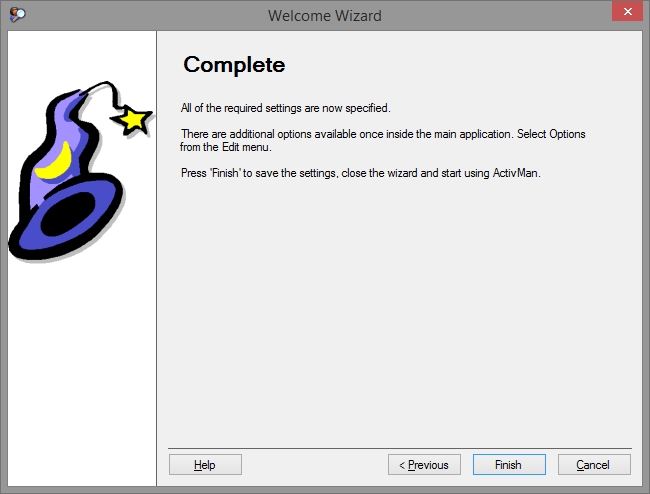
On the Complete page of the wizard simply click 'Finish' to save all of your change,
close the wizard, and launch the main application.
Creating a template
To ease the administration of different types of user, i.e. Year 7 students, office staff, teacher, etc, you ideally need to create a template for each different type of people.
These templates will be used to import users from your MIS or create new users manually.
To do this, follow these steps:
Ensure you are connected to a server.
Either:
Select 'Templates' from the list on the left and right click in the Templates list, and click 'New Template'.
Right click 'Templates' from the list on the left and select 'New Template'.
Select 'Template' from the 'New' menu in the 'File' menu.
Click 'New Template' from the toolbar.
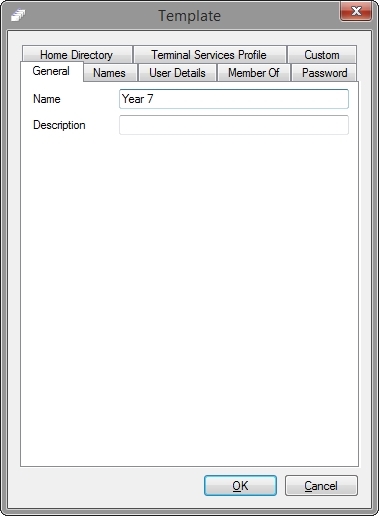
On the 'General' tab, Enter a name and description to indicate to you who this template is for.
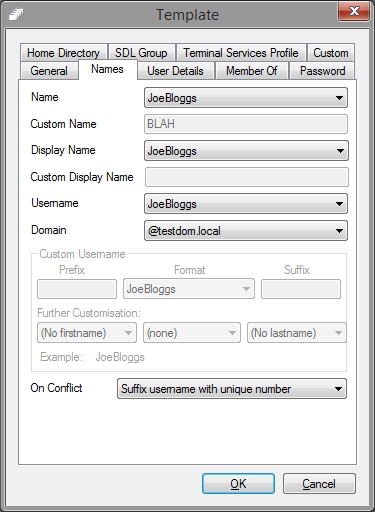
Select the 'User Details' tab.
Select a display name format from the drop down list or enter a custom format.
Select a username format from the drop down list.
If a format does not match your requirements then you select 'Custom' to specify a custom format.
If you have select 'Custom' for username format, enter a prefix and suffix, and select a format.
You can select 'Custom' again where you will have to complete the 'Further Customisation' section.
Select a conflict resolution if the username already exists.
NOTE: If you are using this template for auto importing then it is highly advisable to select 'Ignore',
as duplicate user accounts will be created for people who have not been created by this application previously.
Complete all other desired fields of the 'User Details' tab.
Select the 'Member Of' tab and add any desired groups for this type of user.
Select the 'Password' tab.
Specify what the new users' password is going to be.
'Date of Birth' is used when importing users and creating manually.
The last option allows you to enter a predefined password that will be common with all users who are created from this template.
Select any desired password options.
Select 'Home Directory' tab.
If you would like a home directory creating for the user then select 'Create Home Directory'.
If selected, enter the server and the root path for the home directory.
NOTE: the root path MUST be how the server sees it, i.e. "C:\Users" and not "\\server\users" or "C$\Users".
You can specify whether to add the created user to the permissions of the created home directory.
Any inheritable permissions will be propagated.
You can also specify any additional permissions by clicking 'Permissions'.
If you would like a share creating for the created home directory for the user then select 'Create Share from Home Directory'.
If selected, select the format of the share.
Enter a share description.
Select how many users can access the share for 'Max Users'.
You can specify whether to add the created user to the permissions of the created share.
You can also specify any additional permissions by clicking 'Permissions'.
If you would like the created home directory to be added to the user account then select 'Add directory to user account' and select and specify a drive letter (optional).
Click 'OK' and enter a filename for this template.
Importing users from your MIS using the Extract Wizard
Firstly, ensure you have already created a connection to your MIS system and have at least one template before proceeding.
ActivMan AutoImport is a program which can be scheduled to automatically extract specified users from your MIS and import into your Active Directory.
This would then remove the need to manually perform the operation every time a new user arrives or an old user leaves.
To do this, follow these steps:
Either:
From ActivMan, select 'Configure AutoImport' from the 'Tools' menu.
From the Start Menu, select 'Configure' from the AutoImport submenu of the ActivMan menu group.
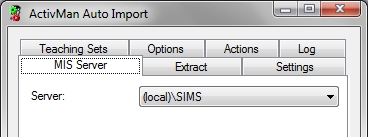
On the 'MIS' tab, select your MIS server. These MIS servers are taken from the main application, so you will need to configure your server in the main application first.
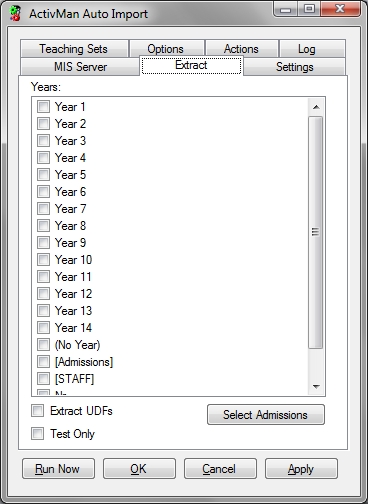
Select the 'Extract' tab.
Select the years and/or staff that you wish to extract from your MIS.
If your MIS supports 'Admissions' then you can specify this too by selecting "[Admissions]" and clicking 'Select Admissions'.
If you would like to see what will be imported without actually modifying your Active Directory, then select 'Test only'.
Select the 'Settings' tab.
You now need to enter each year that you wish to create accounts for, i.e. Year 7, Year 8, etc.
Click 'Add'
Select the year to be imported.
Select a template to be associated with this year. This template must be created from the main ActivMan application.
NOTE: Each year can use the same template if necessary.
Select the Active Directory server from the list that this account will be created on.
Browse for a desired OU on the specified server where these accounts will be created.
Click 'OK' to save the year.
Repeat this process for all the years you are going to import.
Select the 'Teaching Sets' tab.
If you would like to search your teaching sets in your MIS and create associated groups then select 'Yes' for 'Search for Teaching Sets'.
If you have selected 'Yes' to the above the then you will need to specify a location to create the teaching groups.
Select from the drop down box what type the teaching groups will be when created.
Select the 'Options' tab and specify any desired settings.
For 'single domains across multiple sites' you are advised to select 'Yes' for 'Remove user from member groups'.
Also check 'Move accounts to this site' and 'Move data to this site' if desired.
Select the 'Actions' tab and select any actions to be performed when any desired events occur.
Click 'Apply' to save the settings.
On successfully connecting to the server you are now ready to go.
You can either 'Run Now' or schedule this program to run at a future time.
NOTE
When moving data between sites the application may take a long time to complete, depending on the size of the data to move.
Therefore, if you "Run Now" you may not be able to close the application until the data has been moved.
This will also occur when running the application as a scheduled task.
Scheduling AutoImport
To schedule the AutoImport application to run at any time you wish, create a standard Windows scheduled task (this will vary depending on the operating system):
Open Windows Scheduler
Create a new task
Select the ActivMan AutoImport executable
ActivMan AutoImport does not requrie any additional arguments
Select the desired date/day/time for the schedule to run
Click 'OK' to create the schedule. It will now run at the specified date/time.
 Online Help
 ActivMan
 New Features